
Project Overview
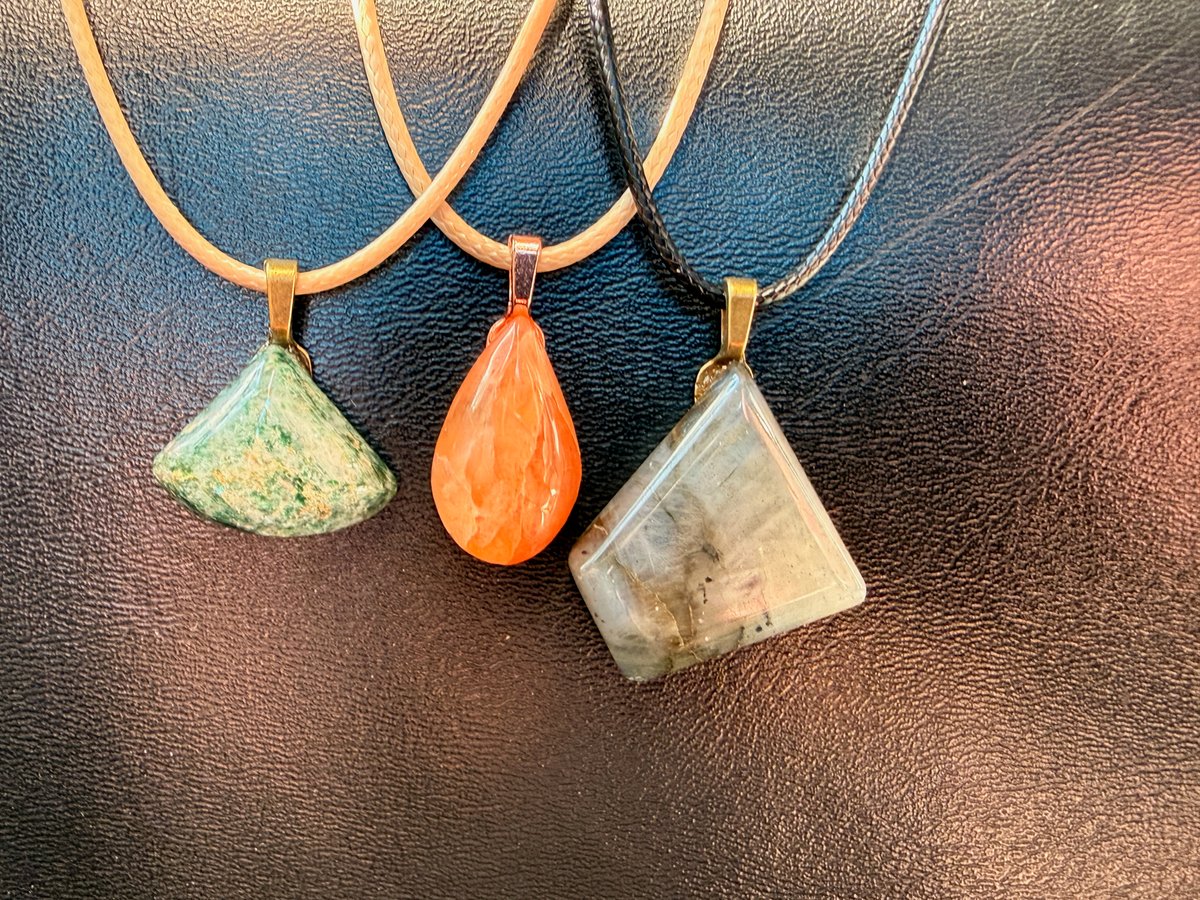
I had a couple of rocks from my granddaughter that she wanted turned into a necklace and a random rock given me for my wife. These are some photos showing the different steps of shaping and polishing.
Key Components
Materials
- Rocks
Equipment Used
- Lapidary equipment
Assembly & Build Process
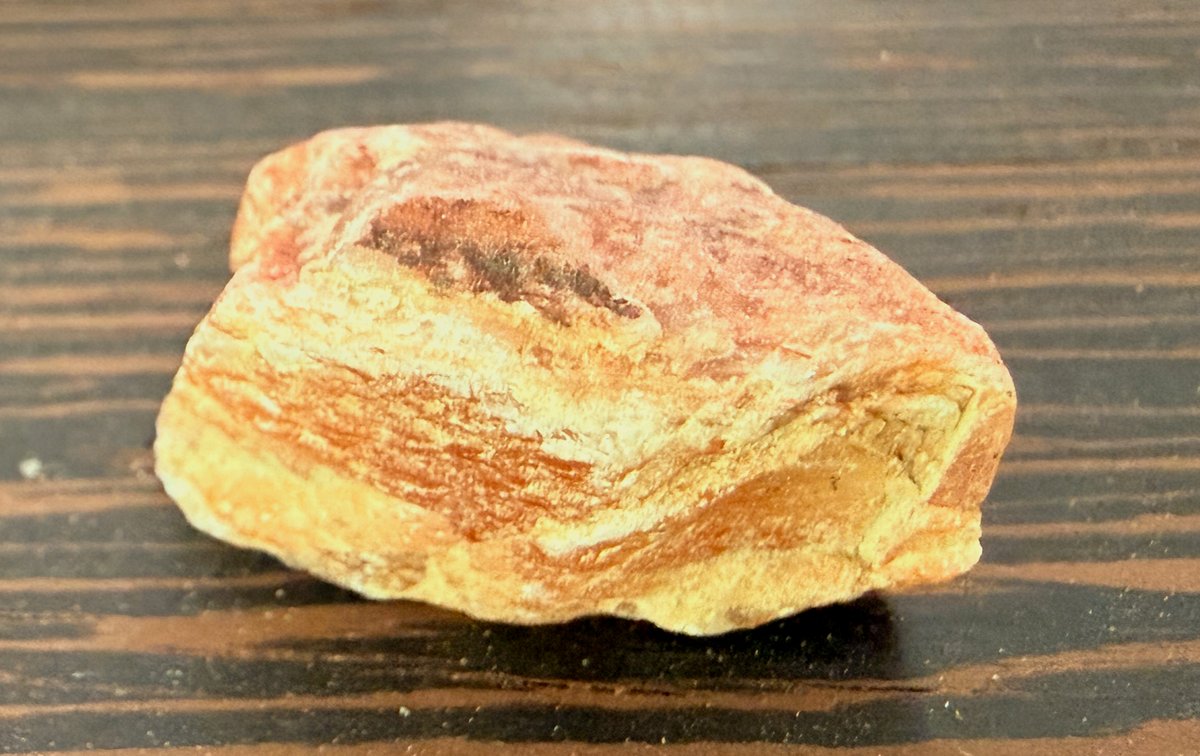
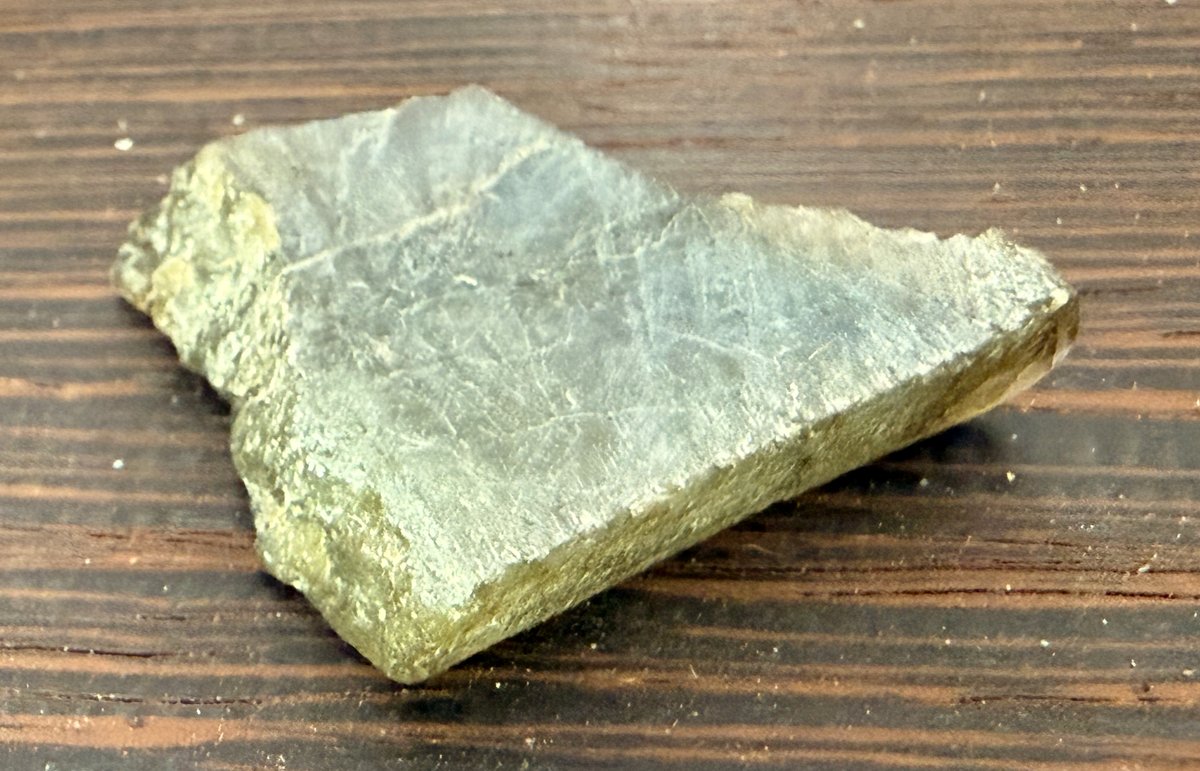
Step 1: Raw rocks
These are the rocks before doing anything. The one on the left will be cut in half first.


Step 2: Initial shaping with 100 grit
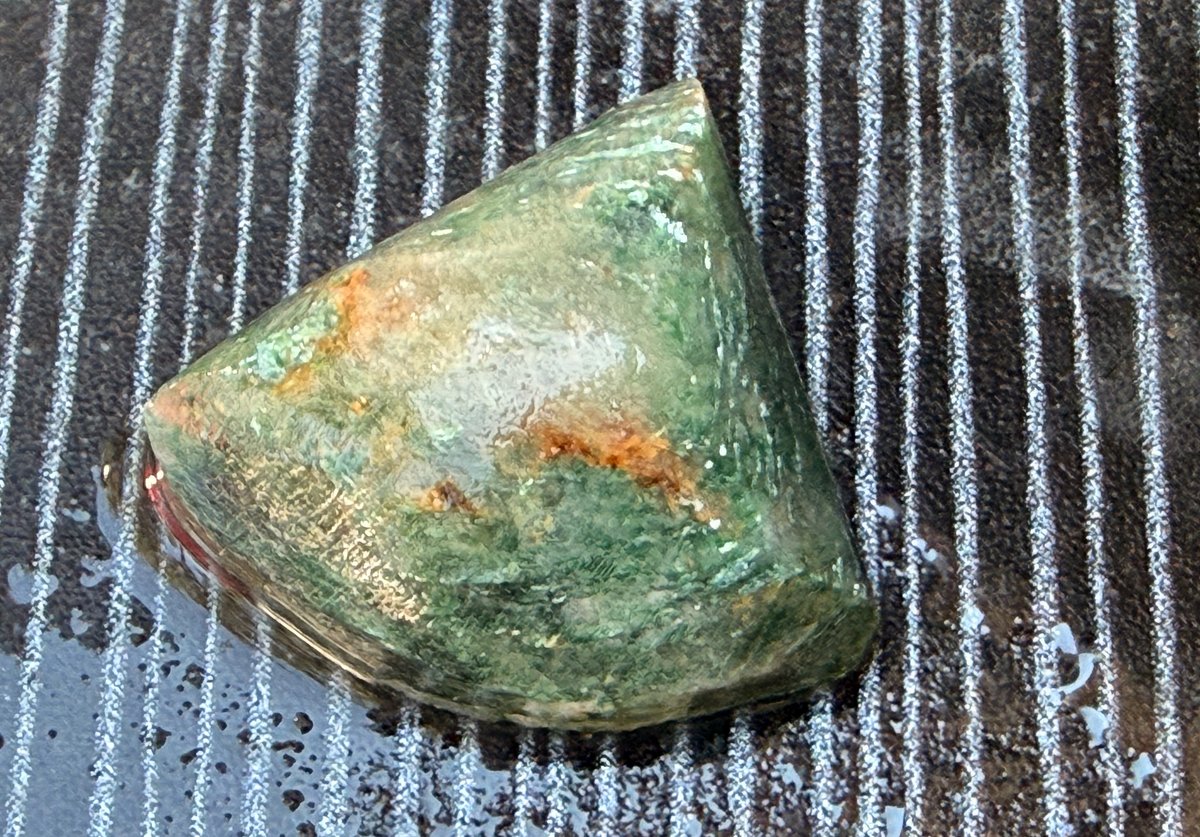
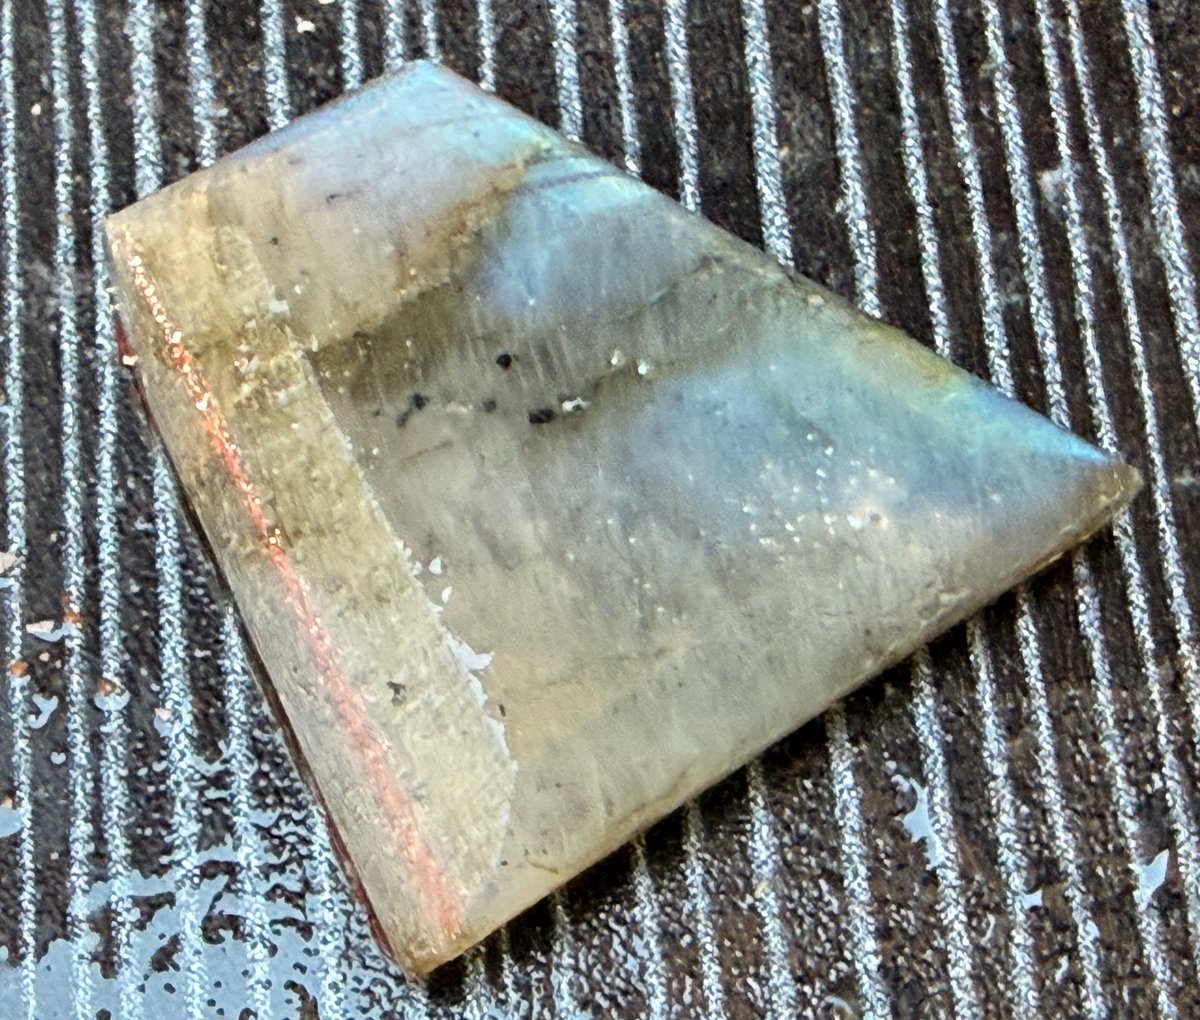
Used a 100 grit diamond disc to do the initial shaping of the rocks.

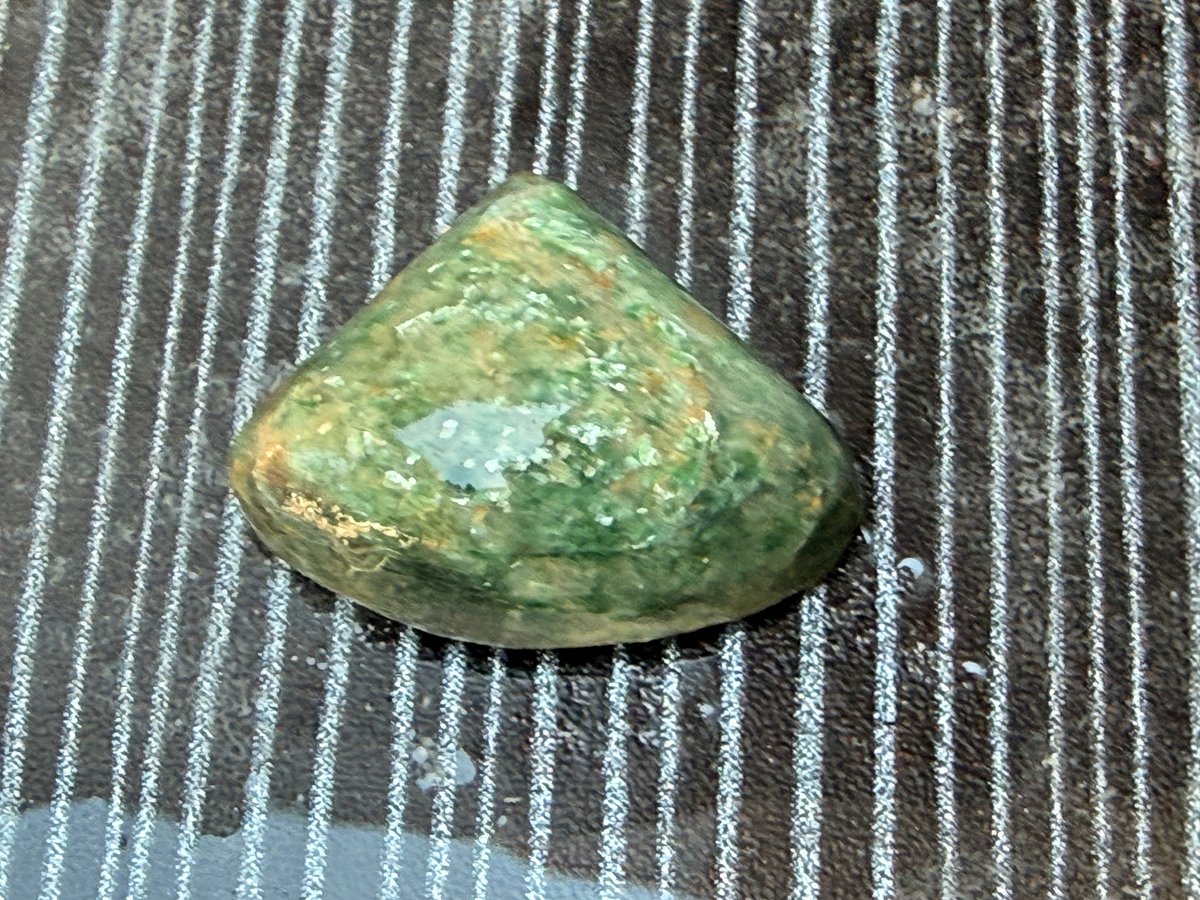
Step 3: Shape and polish up to 1500 grit
Continued to refine the shapes then polished up to 1500 grit on the lapidary discs
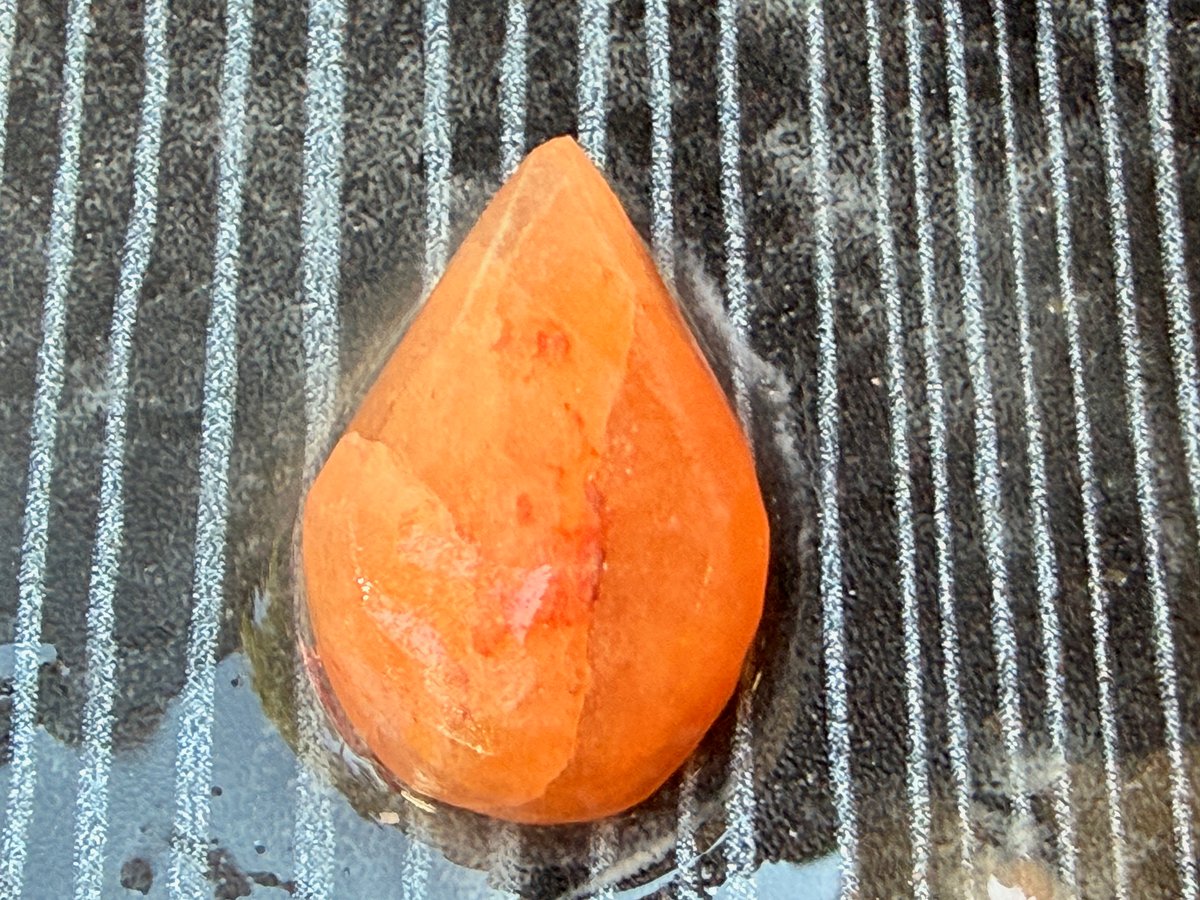
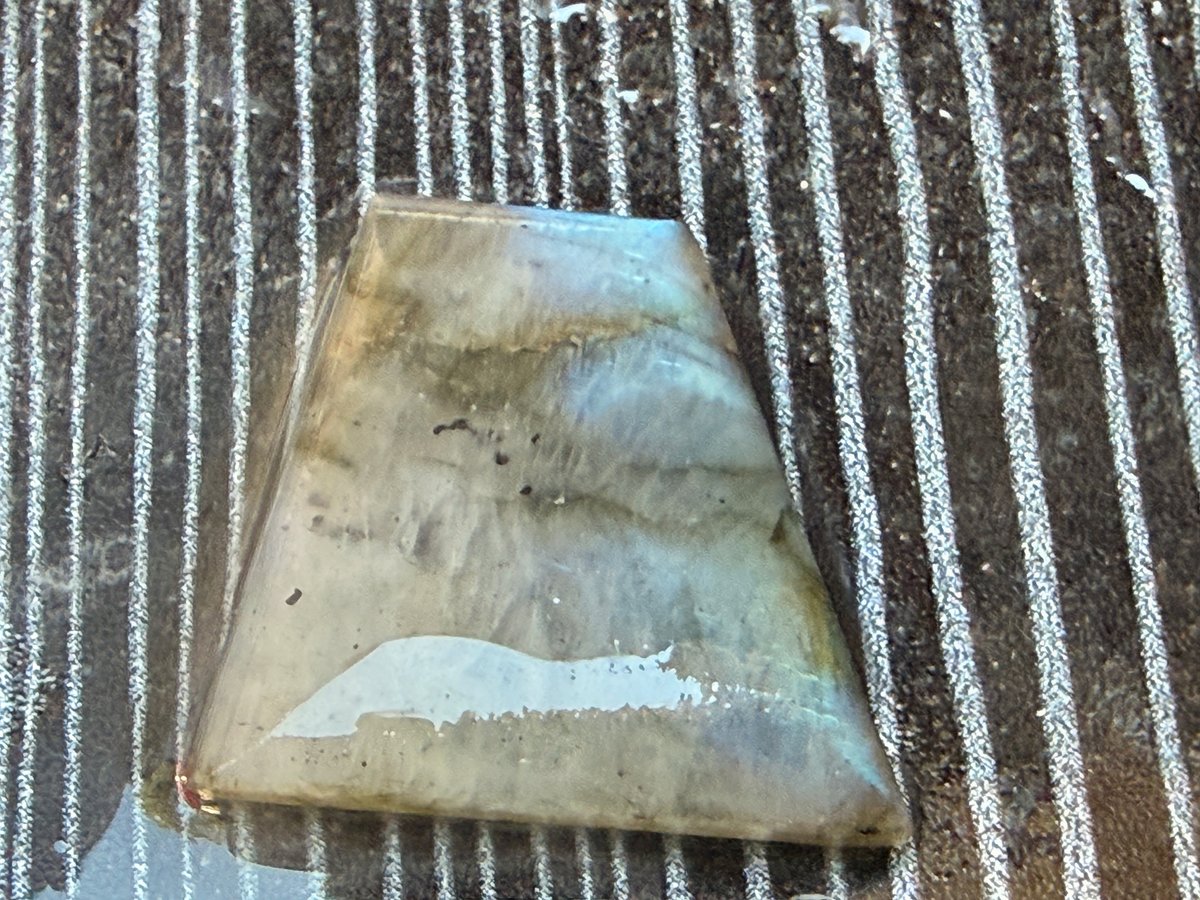
Step 4: Final polish with flexible pad up to 3000 grid then diamond paste
Polished the rocks on a foam sanding disc up to 3000 grit then used a buffer and diamond paste for the final polish.
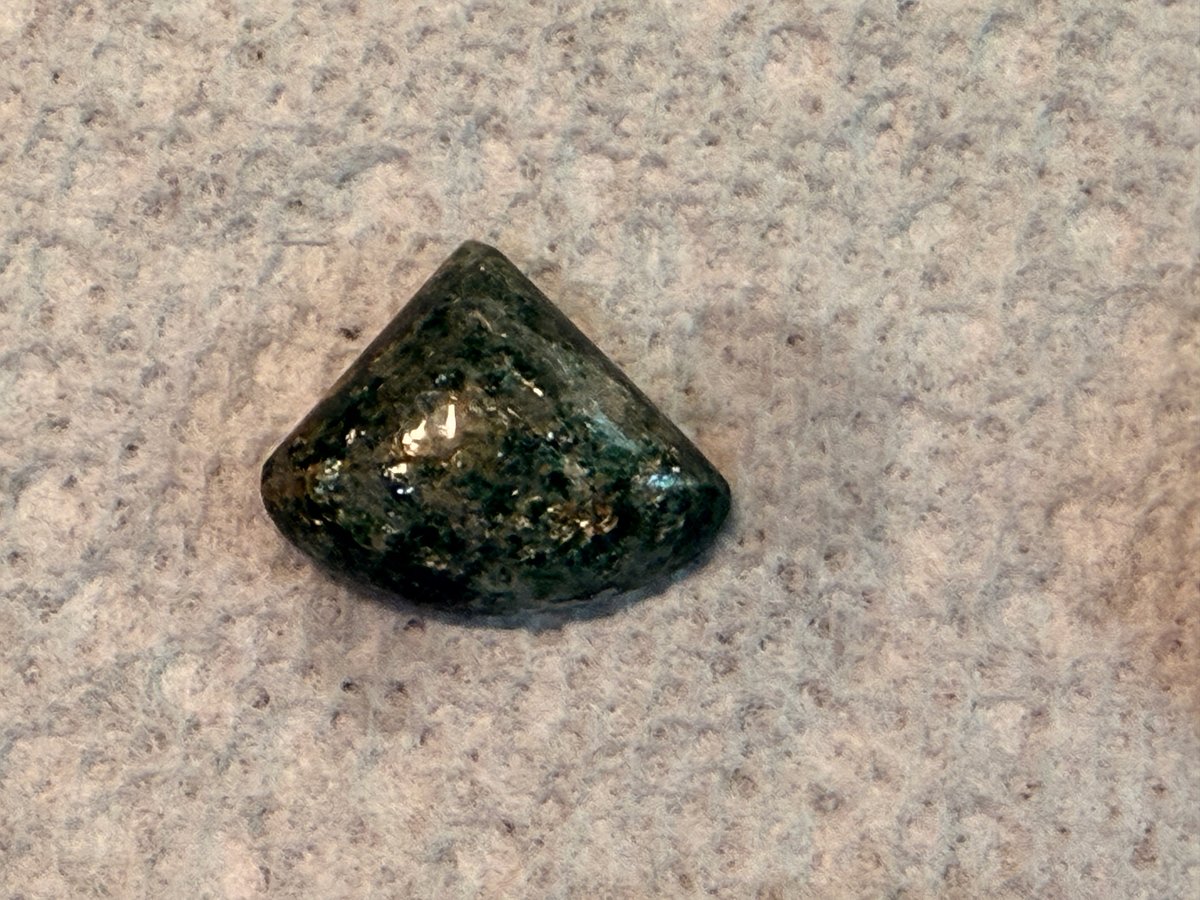
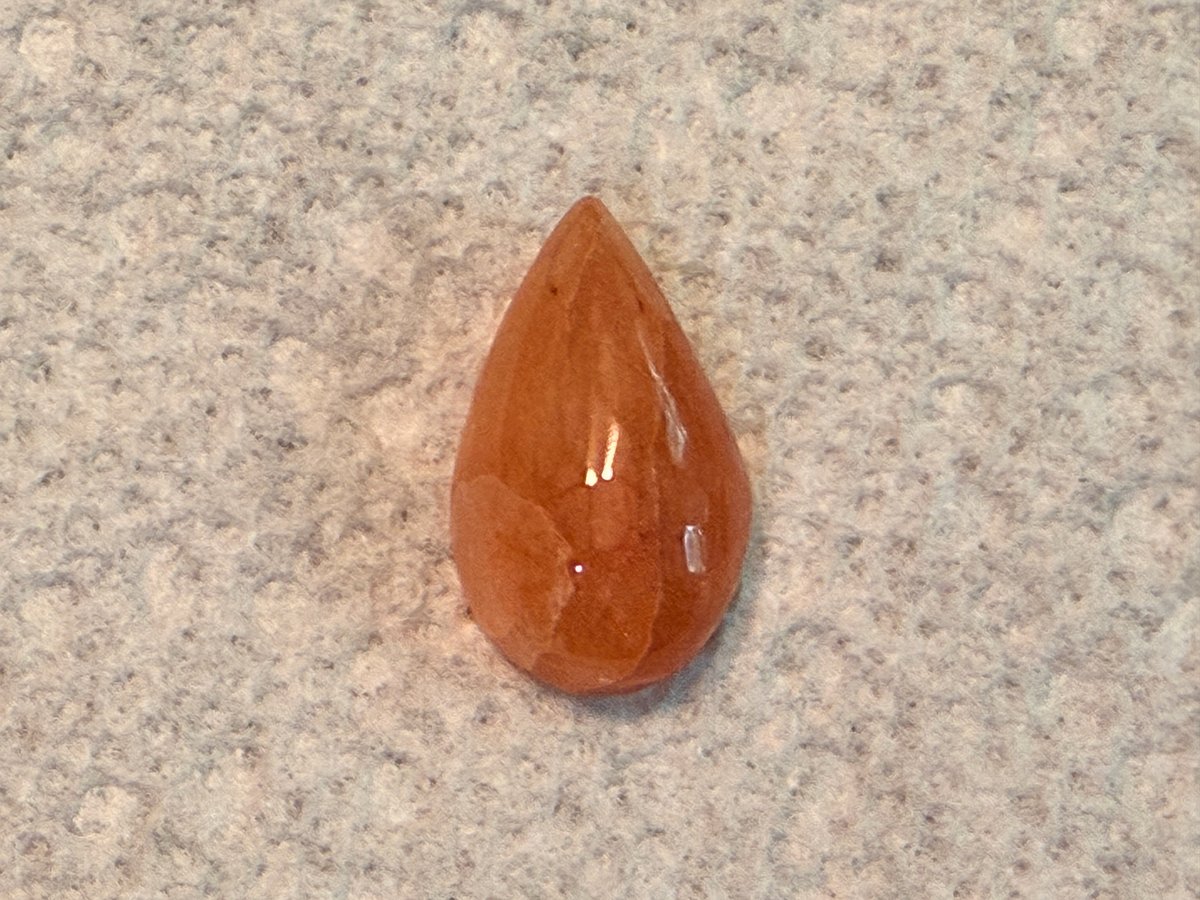
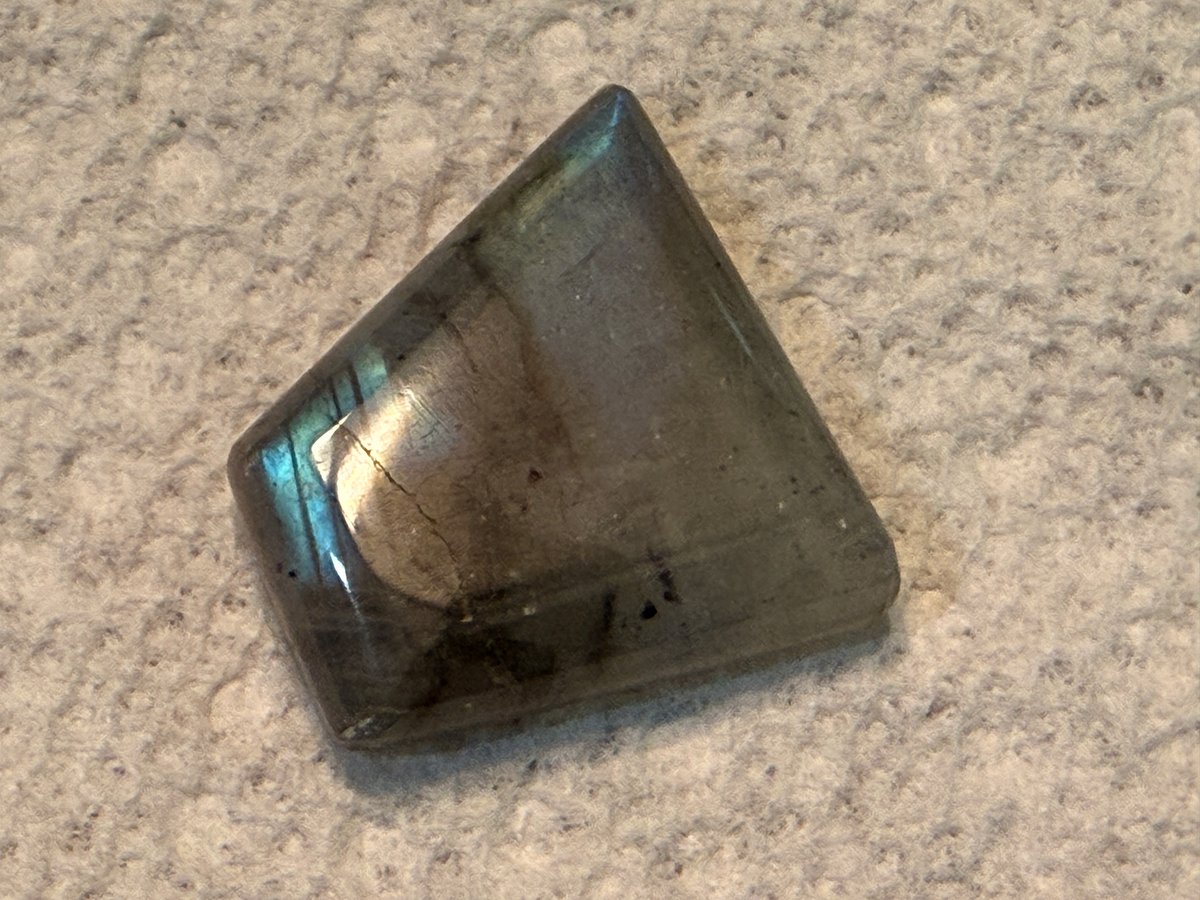
Step 5: Finished results
⚠️ Warning: Use a DOP stick on small rocks unless you want your fingernails taken down to the skin and polished. Ask me how I know.
Technical Specs
| Difficulty | Beginner |
| Estimated Time | 2hr |
| Categories | Other |